Printing On Wood offers a unique way to blend artistry and craftsmanship, transforming ordinary wooden surfaces into personalized works of art. Whether you’re a seasoned crafter or just starting out, this guide will equip you with the knowledge and resources to master the art of wood printing. printing photo on wood offers a truly special way to preserve memories and create lasting gifts.
Understanding the Basics of Printing on Wood
Printing on wood requires a different approach than printing on paper. The porous nature of wood and its unique grain patterns present both challenges and opportunities. Understanding the different methods available is key to achieving the desired results. These methods range from traditional techniques like woodblock printing to modern digital printing technologies.
Different Wood Printing Methods
Several methods cater to various skill levels and desired outcomes:
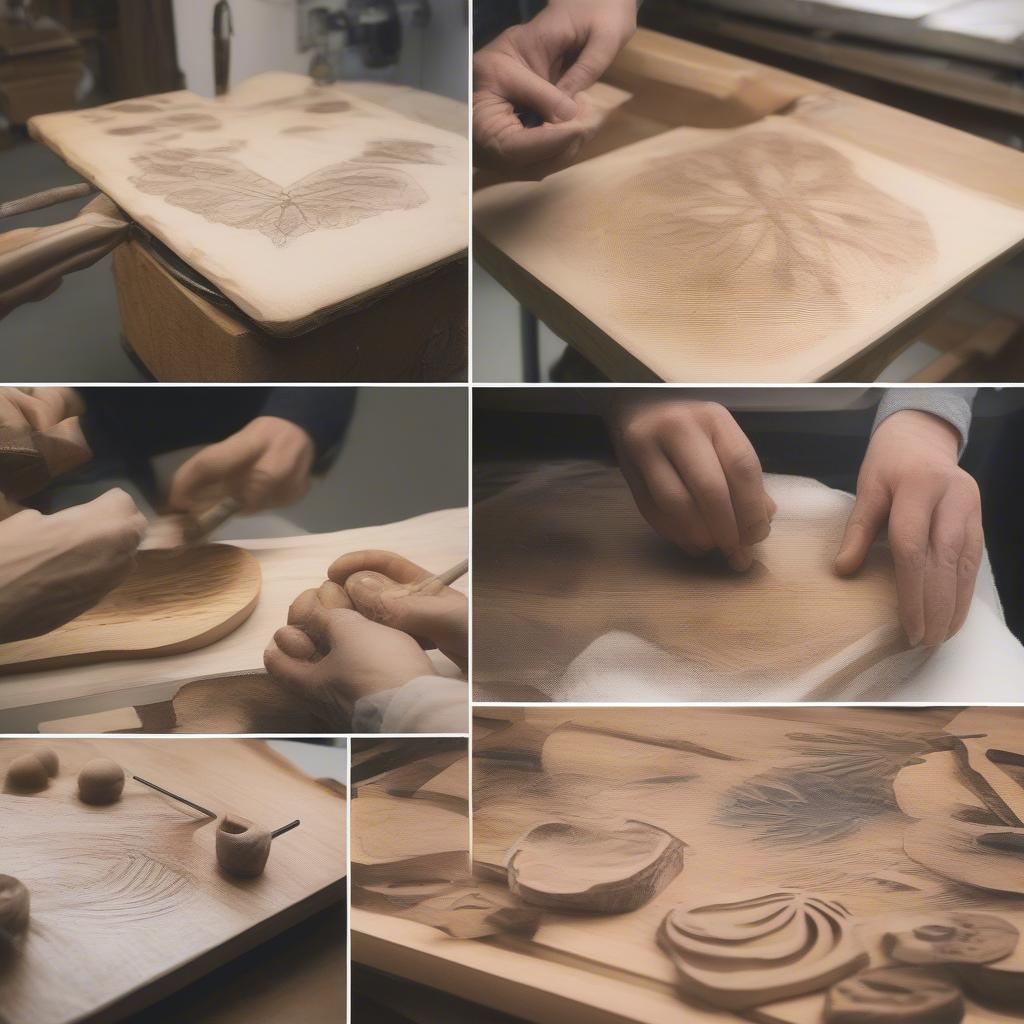
- Woodblock Printing: This ancient technique involves carving a design into a block of wood, applying ink to the raised surface, and pressing it onto the wood or another material. This method allows for intricate designs and a rustic, handcrafted feel.
- Transfer Printing: Images printed onto transfer paper are transferred onto wood using heat or pressure. This is a relatively simple method suitable for photographs and complex designs.
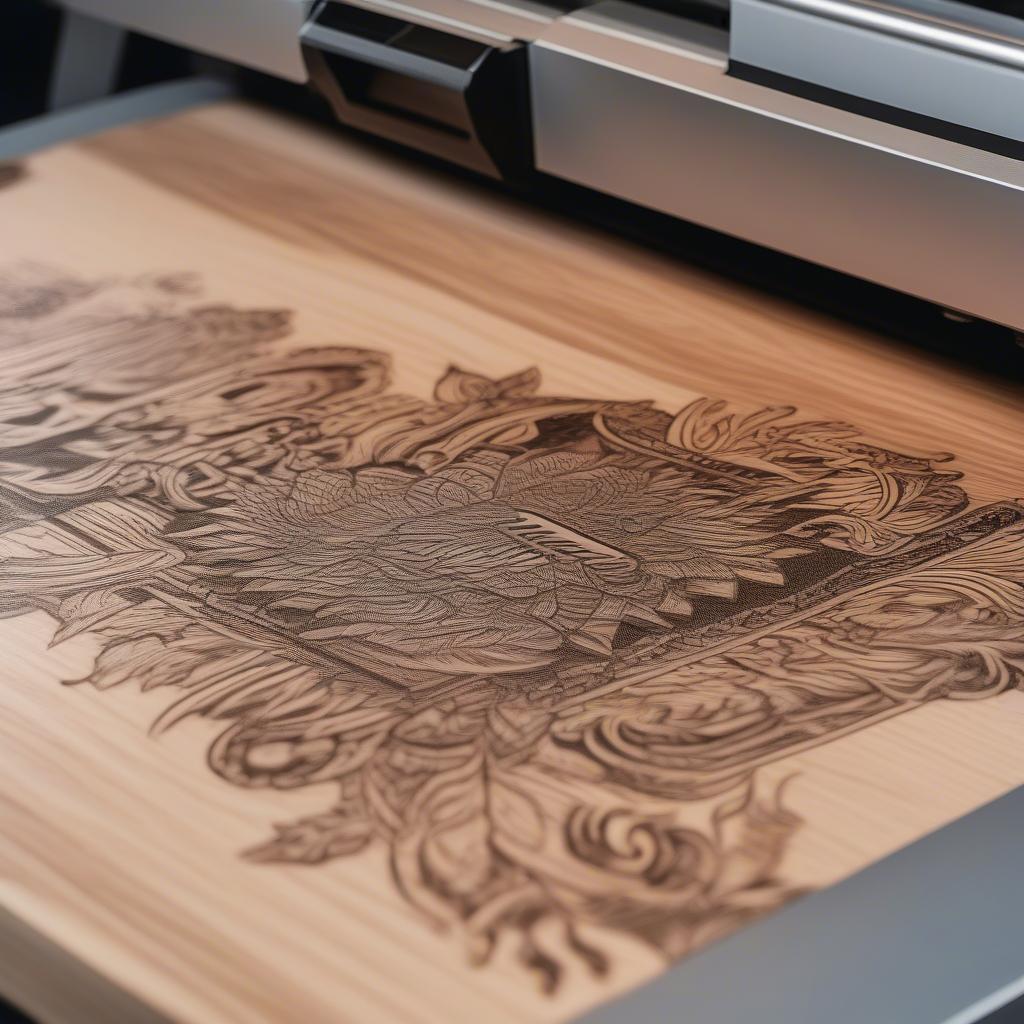
- UV Printing: This modern method uses UV-curable inks that dry instantly upon exposure to UV light. This allows for high-quality, detailed prints on a variety of wood surfaces.
 UV Printing on Wood
Choosing the Right Wood for Printing
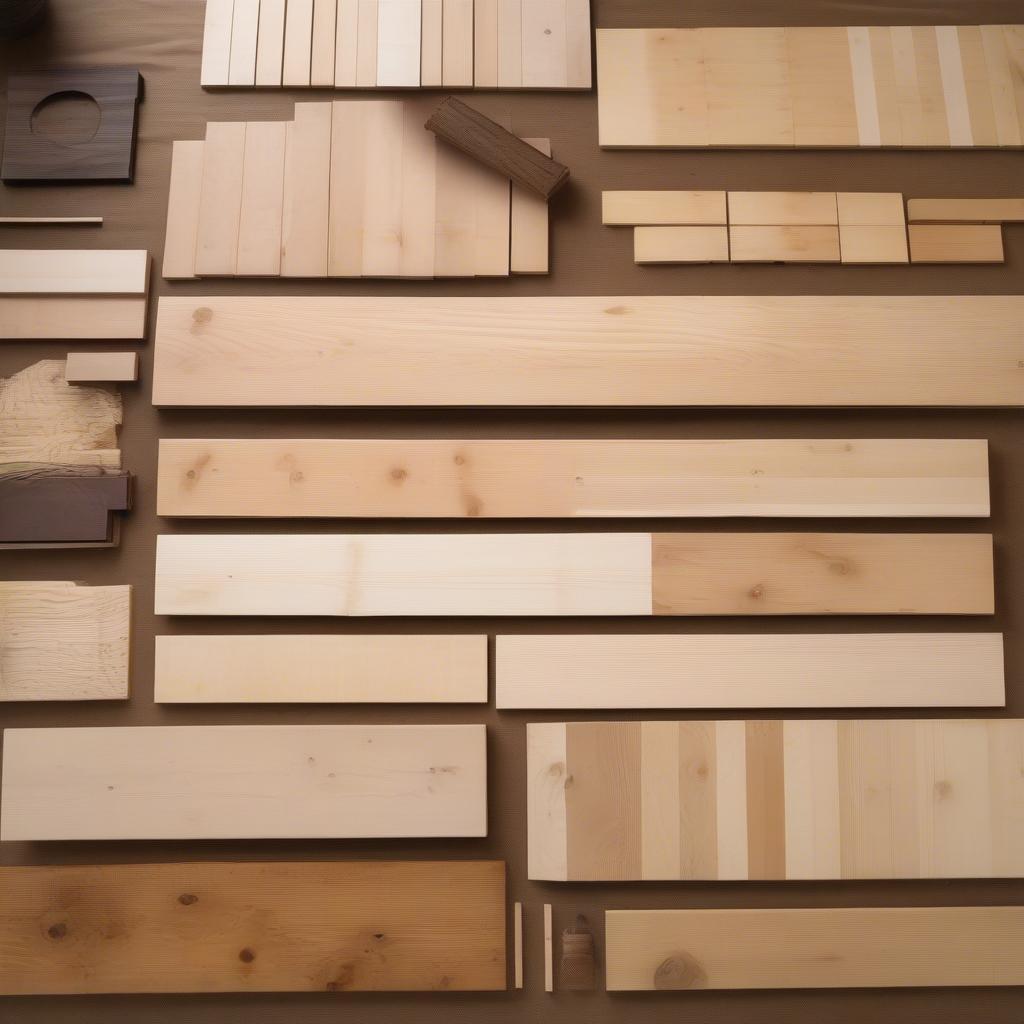
The type of wood you choose significantly impacts the final result. Consider factors like the wood’s hardness, grain pattern, and color when making your selection. wood printing can be applied to a variety of wood types, each with its own unique characteristics.
Popular Wood Choices for Printing
- Maple: Its smooth surface and light color make it ideal for detailed prints and vibrant colors.
- Birch: Similar to maple, birch offers a smooth surface and takes ink well.
- Pine: Its distinct grain pattern adds a rustic charm to prints, though it may require more preparation due to its softer nature.
 Wood Selection for Printing
Preparing the Wood Surface
Proper surface preparation is crucial for successful wood printing. wood picture printing often requires a smooth, clean surface to ensure the best results. This involves sanding the wood to a smooth finish and removing any dust or debris.
Steps for Preparing Wood for Printing
- Sand the wood surface with progressively finer grits of sandpaper until smooth.
- Remove any dust or debris with a tack cloth.
- Apply a sealant or primer if necessary, depending on the printing method and wood type.
“Proper surface preparation is the foundation of a successful wood print,” says renowned woodworking expert, John Carpenter. “Taking the time to properly sand and clean the wood will significantly enhance the quality and longevity of the final product.”
The Printing Process
The printing process varies depending on the chosen method. wood for printing comes in various forms, from pre-cut planks to custom-sized pieces. Each method requires specific tools and techniques, from intricate carving for woodblock printing to precise digital setups for UV printing. Understanding these nuances ensures a smooth and successful printing experience.
Tips for a Successful Print
- Ensure the wood is completely dry before printing.
- Use high-quality inks specifically designed for wood.
- Follow the manufacturer’s instructions for the chosen printing method.
 Wood Printing Process
Finishing and Protecting Your Print
Once the print is dry, apply a protective finish to seal and preserve it. woods printing involves several finishing options to protect the printed image and enhance its longevity.
Choosing the Right Finish
- Varnish: Provides a durable, glossy finish.
- Lacquer: Offers a clear, protective coating.
- Wax: Creates a natural, matte finish.
“Applying a protective finish is essential for preserving the vibrancy and longevity of your wood print,” adds Carpenter. “It acts as a shield against moisture, UV rays, and other environmental factors that can damage the print over time.”
Conclusion
Printing on wood offers a unique way to personalize and enhance wooden objects. By understanding the different printing methods, choosing the right wood, and following the proper preparation and finishing techniques, you can create beautiful and lasting pieces. Remember to always prioritize quality materials and meticulous execution for optimal results.
FAQ
- What type of wood is best for printing photos?
- Can I print on reclaimed wood?
- What is the most durable printing method?
- How do I clean a wood print?
- What are the best inks for wood printing?
- How can I prevent the ink from bleeding?
- What type of finish should I use for outdoor wood prints?
Need assistance with your wood printing project? Contact us at My Dinh, Hanoi, Vietnam or San Francisco, CA 94105, USA. Our customer service team is available 24/7 to help you.


