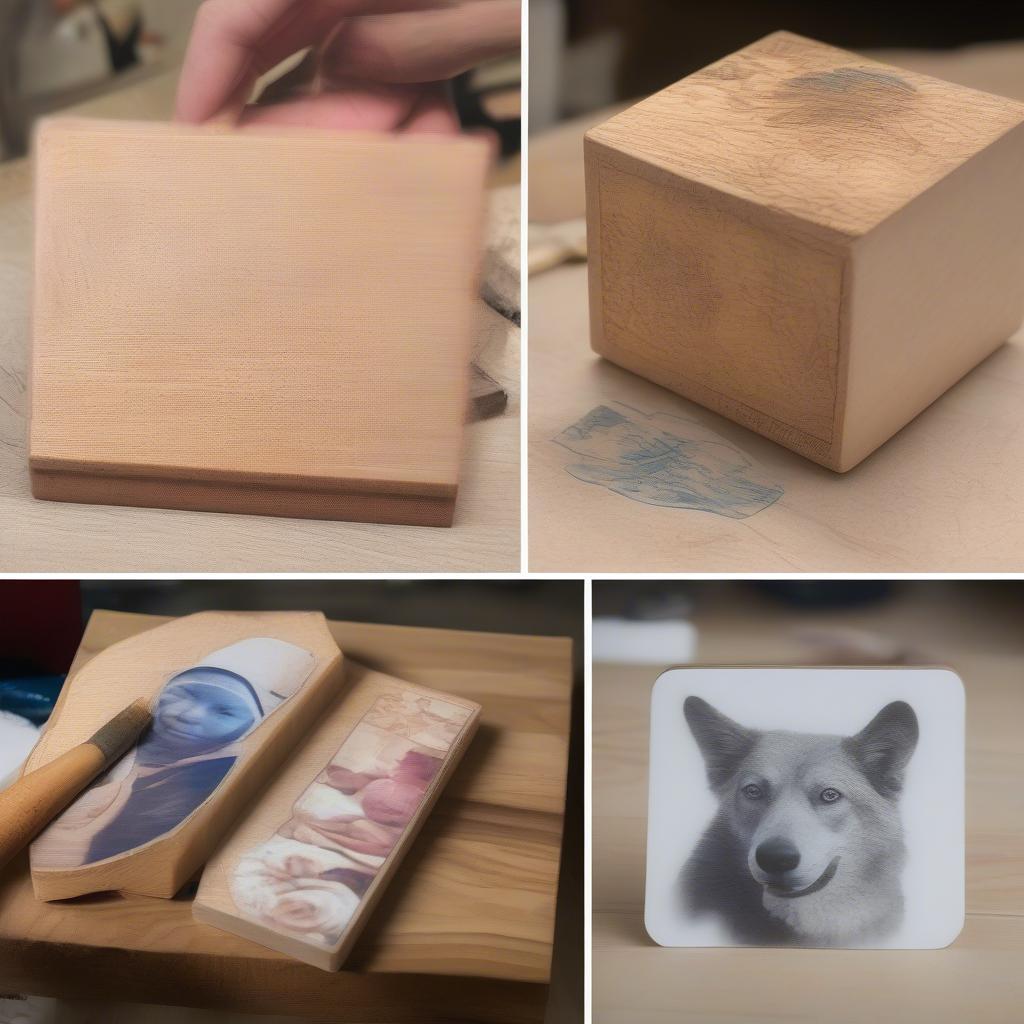
Printing a photo on wood offers a unique and artistic way to display your cherished memories. Whether you’re looking to create personalized gifts, decorate your home with a rustic touch, or explore a new crafting technique, Print A Photo On Wood opens up a world of creative possibilities. Learn how to transform your digital images into beautiful, long-lasting artwork on wood.
Choosing the Right Wood for Your Photo Print
The type of wood you choose significantly impacts the final look of your print a photo on wood project. For a smooth, clean finish, opt for birch or maple. If you prefer a more rustic appearance with visible grain, consider using reclaimed wood or planks with knots and imperfections. The thickness of the wood is also important; thinner pieces are ideal for decorative items, while thicker planks are more suitable for larger pieces or functional items like trays or coasters. Check out our art prints square for inspiration.
Methods for Printing Photos on Wood
Several techniques allow you to successfully print a photo on wood. The most common methods include:
-
Image Transfer using Mod Podge: This straightforward approach involves printing your photo on regular paper, applying Mod Podge to the wood surface, placing the image face down, and then carefully rubbing away the paper to reveal the transferred image.
-
Sublimation Printing: This method uses heat to transfer dye onto specially coated wood, resulting in vibrant and long-lasting prints. It requires a sublimation printer and specific transfer paper.
-
Direct Printing with a UV Printer: This professional-grade method uses a UV printer to print directly onto the wood surface, offering high-resolution and fade-resistant results.
-
Laser Engraving: This technique burns the image into the wood surface, creating a unique and permanent etched effect. It’s particularly effective for creating intricate designs and detailed artwork.
 Different Methods of Printing Photos on Wood
Preparing Your Photo and Wood Surface
Before you print a photo on wood, ensure your chosen image is high-resolution to avoid pixelation. Adjust the brightness and contrast as needed. The wood surface should be smooth and clean. Sand any rough areas and remove dust before starting the printing process. You can find some great wooden picture box options on our website.
How to Print a Photo on Wood Using the Mod Podge Method
This section provides a step-by-step guide for using the Mod Podge transfer method to print a photo on wood:
- Print your photo on regular printer paper using a laser printer.
- Apply a thin, even layer of Mod Podge to the wood surface.
- Carefully place the printed image face down onto the Mod Podge-covered wood.
- Smooth out any air bubbles with a credit card or brayer.
- Let it dry completely for at least 24 hours.
- Wet the paper with a sponge and gently rub it away, revealing the transferred image.
- Apply a sealant to protect the finished print.
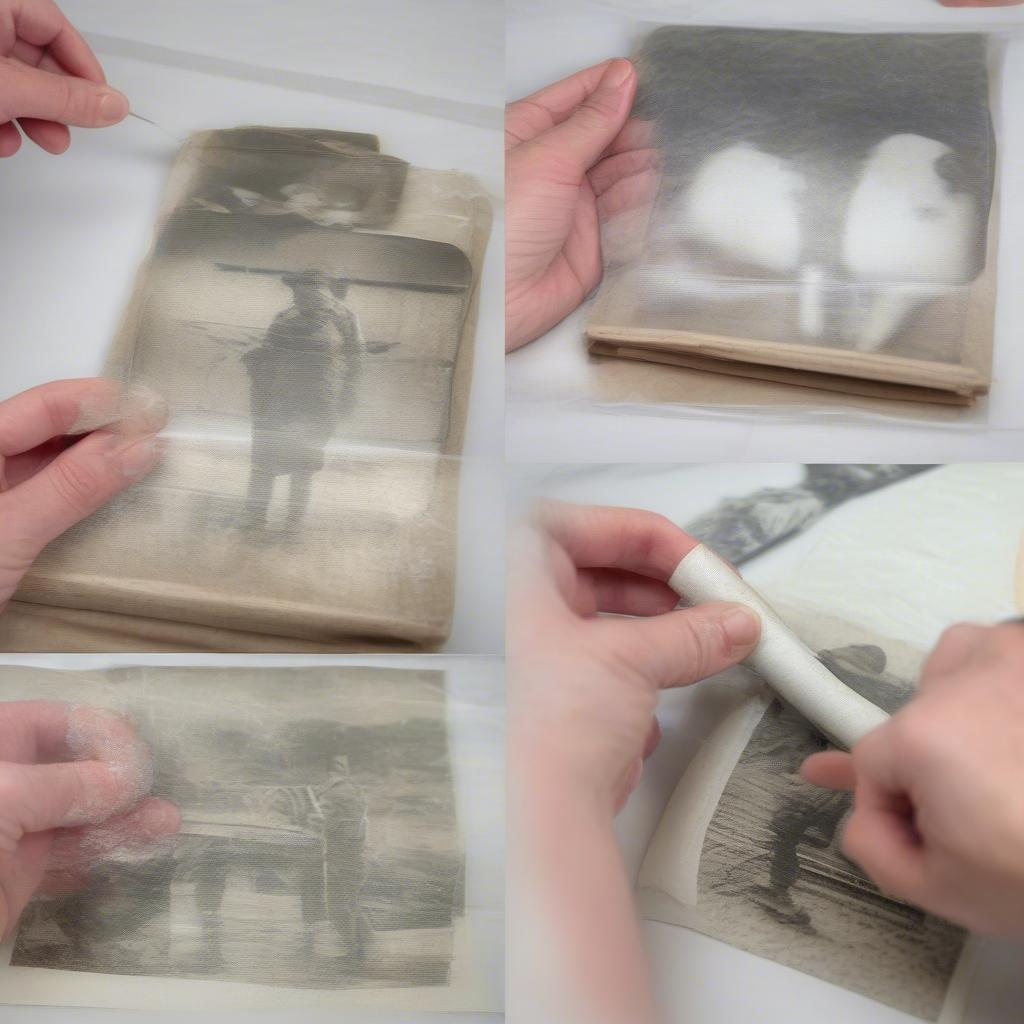
 Step-by-Step Mod Podge Wood Transfer
“Choosing the right wood is crucial. Different wood grains and textures will create unique effects,” says Jane Doe, a seasoned woodcraft artist.
Tips for Achieving the Best Results
For optimal results when you print a photo on wood, consider these tips:
- Test your chosen method on a scrap piece of wood before applying it to your final project.
- Use high-quality photo paper and printing materials for the best image clarity.
- Apply thin and even coats of Mod Podge or other adhesives to avoid air bubbles.
- Allow ample drying time between each step.
“Seal your finished piece to protect it from moisture and UV damage, ensuring its longevity,” advises John Smith, a professional photographer specializing in wood prints.
Printing Large Photos on Wood
Printing larger photos requires careful planning and execution. Consider using a larger format printer or dividing the image into smaller sections for easier transfer. For exceptionally large prints, professional printing services utilizing UV printers are recommended. Explore our collection of 11×14 wood picture frame for larger prints.
 Tips for Printing Large Photos on Wood
Conclusion
Printing a photo on wood is a rewarding way to create personalized and artistic pieces. From simple DIY projects to professional-grade prints, there’s a method to suit every skill level and budget. With a little practice and patience, you can transform your cherished photos into stunning works of art that will last for years to come. Check out our photo prints 20×30 options for inspiration. Start printing a photo on wood today and discover the endless possibilities of this captivating craft!
FAQ
- Can I print a photo on wood using an inkjet printer?
- What type of sealant is best for wood photo prints?
- How can I avoid air bubbles when transferring images?
- What is the difference between sublimation printing and UV printing?
- Where can I find high-quality wood for my projects?
- What if my image is not high resolution?
- Can I print a photo on wood with rounded edges?
Need frames for smaller photos? Browse our very small photo frames selection.
For further assistance, contact us at My Dinh, Hanoi, Vietnam or San Francisco, CA 94105, USA. We have a 24/7 customer support team.


