Photo Onto Wood is a captivating way to showcase your cherished photos, transforming them from digital files or prints into unique, personalized works of art. Whether you’re a seasoned crafter or a beginner, this guide will walk you through various techniques, tips, and tricks to achieve stunning results. Learn how to seamlessly blend your images with the natural beauty of wood, creating lasting keepsakes. photo decor
Choosing the Right Wood and Photo
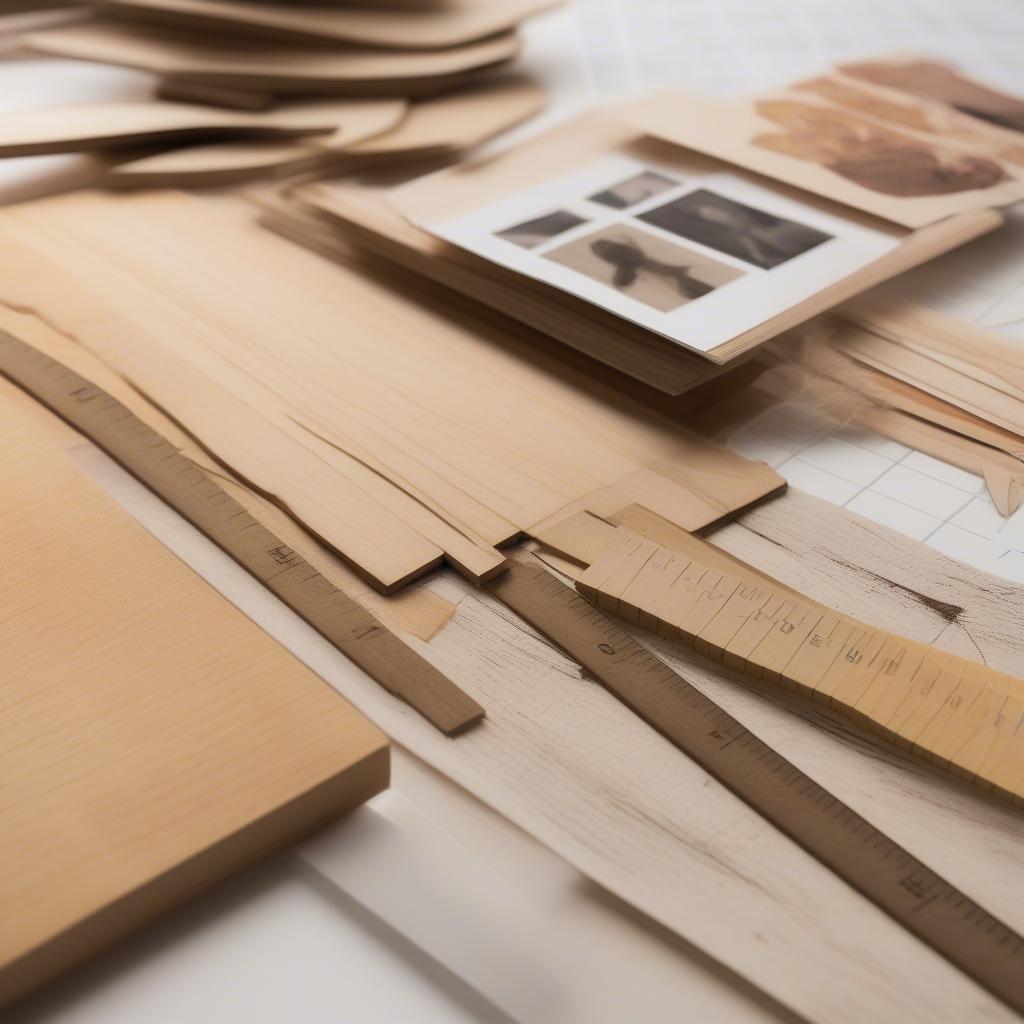
The first step in the photo onto wood process is selecting the appropriate materials. For the wood, consider the type, finish, and size. Smooth, light-colored woods like birch, maple, or basswood are ideal for image transfer. Avoid woods with pronounced grain patterns, as they might interfere with the clarity of the transferred image. Regarding the photo, ensure it’s high-resolution for optimal clarity. You can use printed photos or digital images printed onto transfer paper. Think about the size and composition of your photo and how it will complement the chosen wood piece.
 Choosing the Right Materials for Photo Transfer onto Wood
Different Photo Onto Wood Transfer Methods
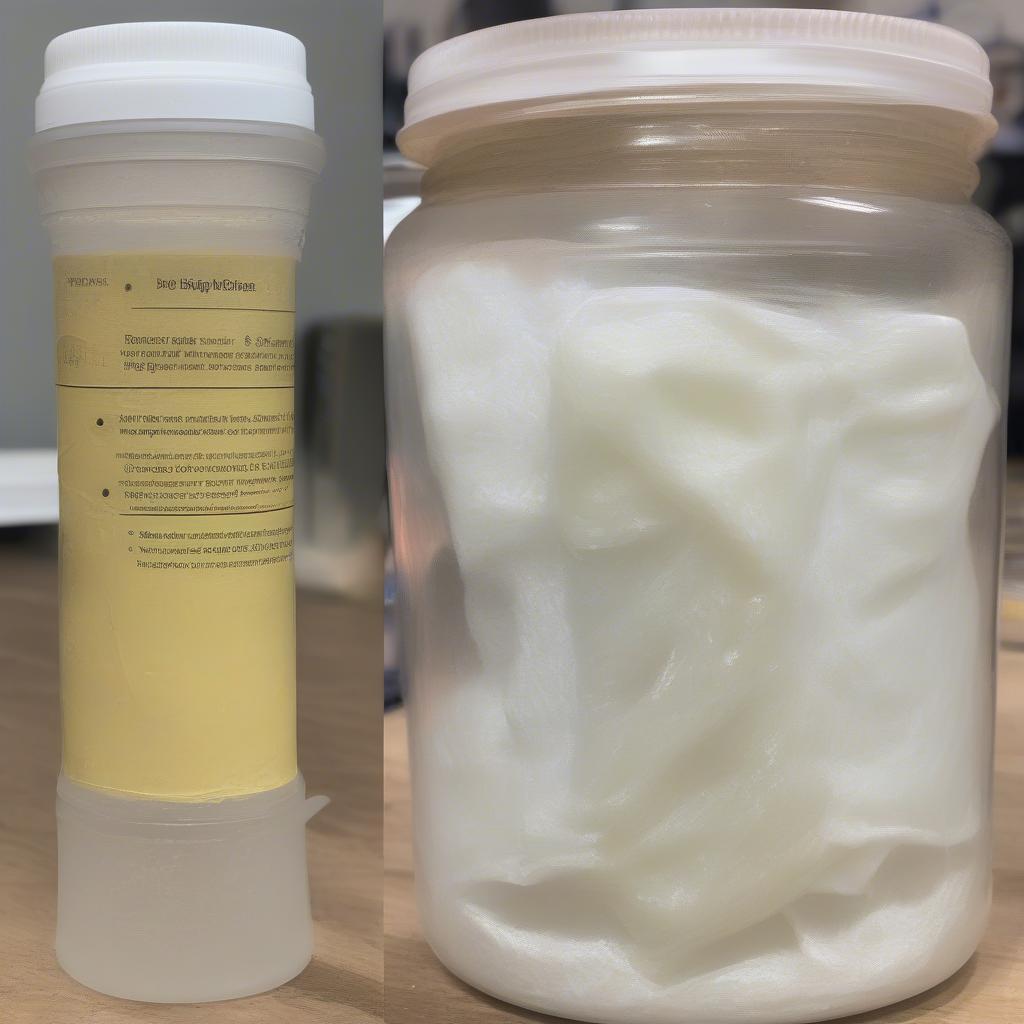
There are several methods to transfer a photo onto wood, each with its advantages and disadvantages. The mod podge method is popular for its simplicity, involving adhering the photo face down onto the wood using mod podge. After drying, the paper backing is rubbed off, leaving the image transferred onto the wood. Another technique involves using a gel medium, which offers greater control and a more professional finish. This method requires applying the gel medium to both the wood and the photo before adhering them together. For a more rustic look, consider the image transfer using wax paper. This technique creates a slightly faded, vintage effect.
 Comparing Different Photo Transfer Methods: Mod Podge, Gel Medium, and Wax Paper
Tips and Tricks for a Seamless Transfer
Regardless of the chosen method, certain tips can enhance the final result. Ensure the wood surface is clean and smooth. Apply even pressure when adhering the photo to avoid air bubbles. Allow ample drying time before removing the paper backing. For a more polished look, consider sealing the transferred image with a varnish or sealant. This will protect the image and enhance its vibrancy.
How to Seal Your Photo Onto Wood Masterpiece
Sealing your photo onto wood project is crucial for longevity and protection against wear and tear. Apply a thin, even coat of varnish or sealant using a brush or spray. Allow it to dry completely before applying additional coats if desired. wood printer Choosing the right sealant can also enhance the final look, from a matte finish to a glossy sheen. Remember to follow the manufacturer’s instructions for optimal results.
 Sealing Techniques for Photo Transfer on Wood: Brush Application and Spray Application
Creative Applications of Photo Onto Wood
Photo onto wood opens up a world of creative possibilities. Create personalized wall art, custom coasters, or unique photo gifts. make photo into canvas print Transfer photos onto wooden furniture for a one-of-a-kind touch. The only limit is your imagination.
“Photo transfer onto wood isn’t just a craft; it’s a way to infuse your personal stories into tangible art,” says Amelia Blackwood, a renowned woodcraft artist. “The natural warmth of wood combined with the personal significance of photos creates a truly unique piece.”
Photo Onto Wood: Frequently Asked Questions
1. Can I transfer any type of photo onto wood? Yes, you can transfer printed photos or digital images printed onto transfer paper.
2. What type of wood is best for photo transfer? Smooth, light-colored woods like birch, maple, or basswood are ideal.
3. What is the easiest method for photo transfer? The Mod Podge method is considered the easiest for beginners.
4. How do I seal the transferred image? Use a varnish or sealant to protect the image and enhance its vibrancy. photo 24×36
5. What are some creative applications of photo onto wood? Create wall art, coasters, personalized gifts, or transfer photos onto furniture.
Conclusion
Transferring a photo onto wood is a rewarding and creative process. custom wood framed photos With a variety of techniques and tips at your disposal, you can transform your favorite photos into unique and personalized works of art. Whether you are crafting a sentimental gift or adding a personal touch to your home decor, photo onto wood offers a unique way to preserve and cherish your memories.
For further support, contact us at My Dinh, Hanoi, Vietnam or San Francisco, CA 94105, USA. We have a 24/7 customer service team.


