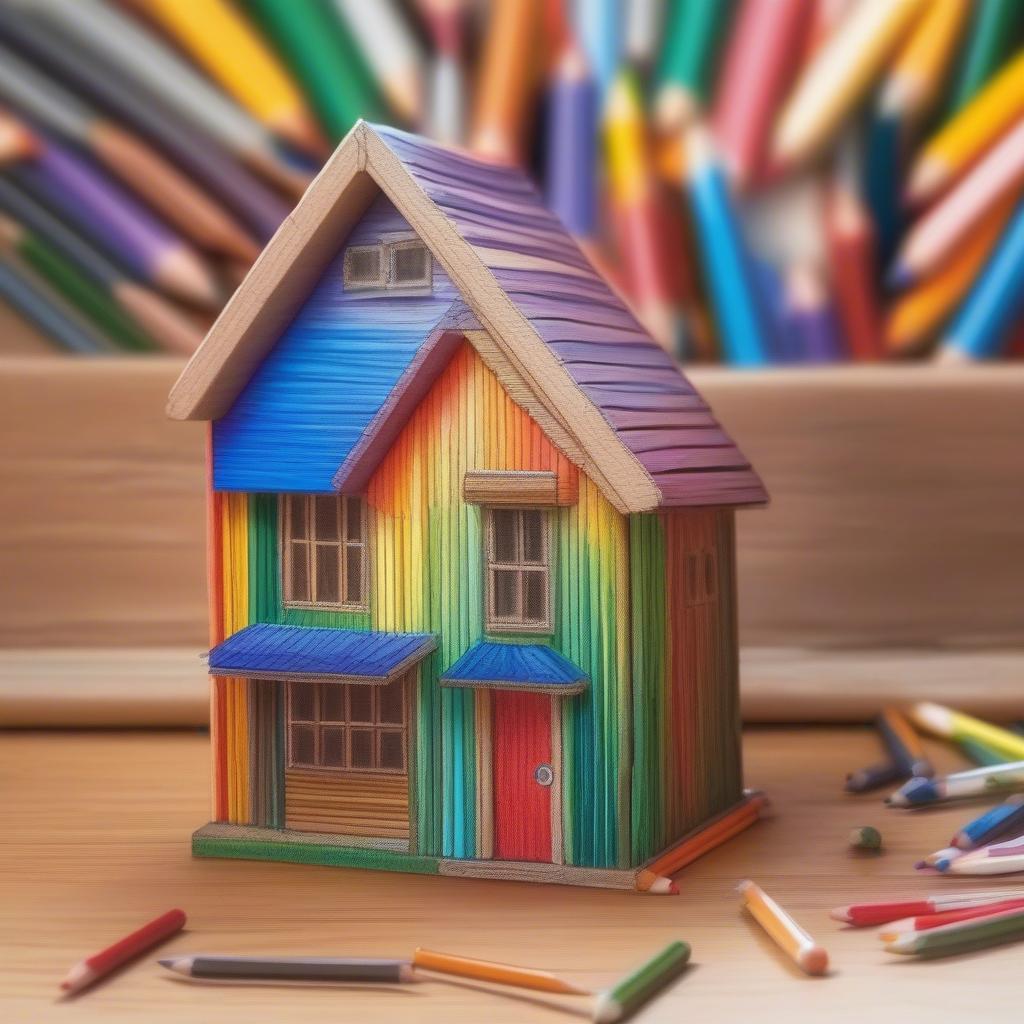
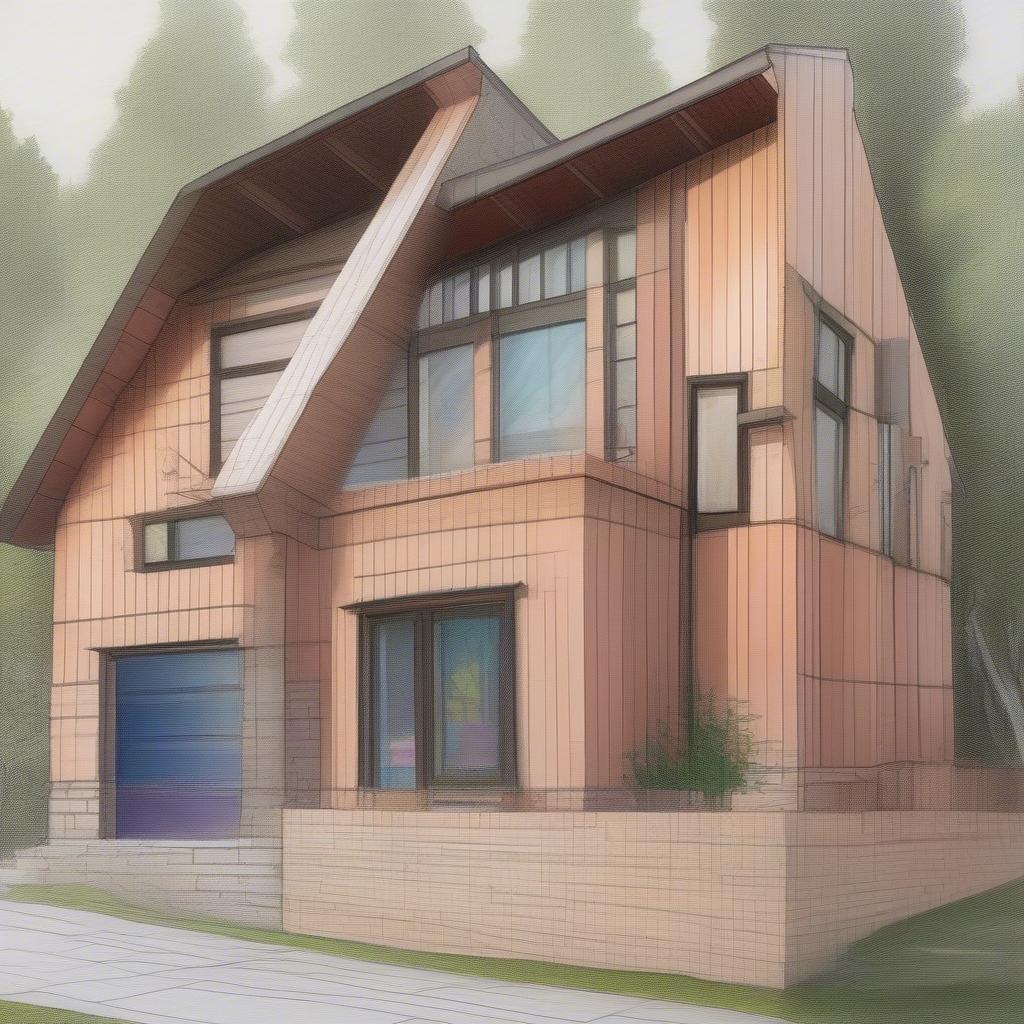
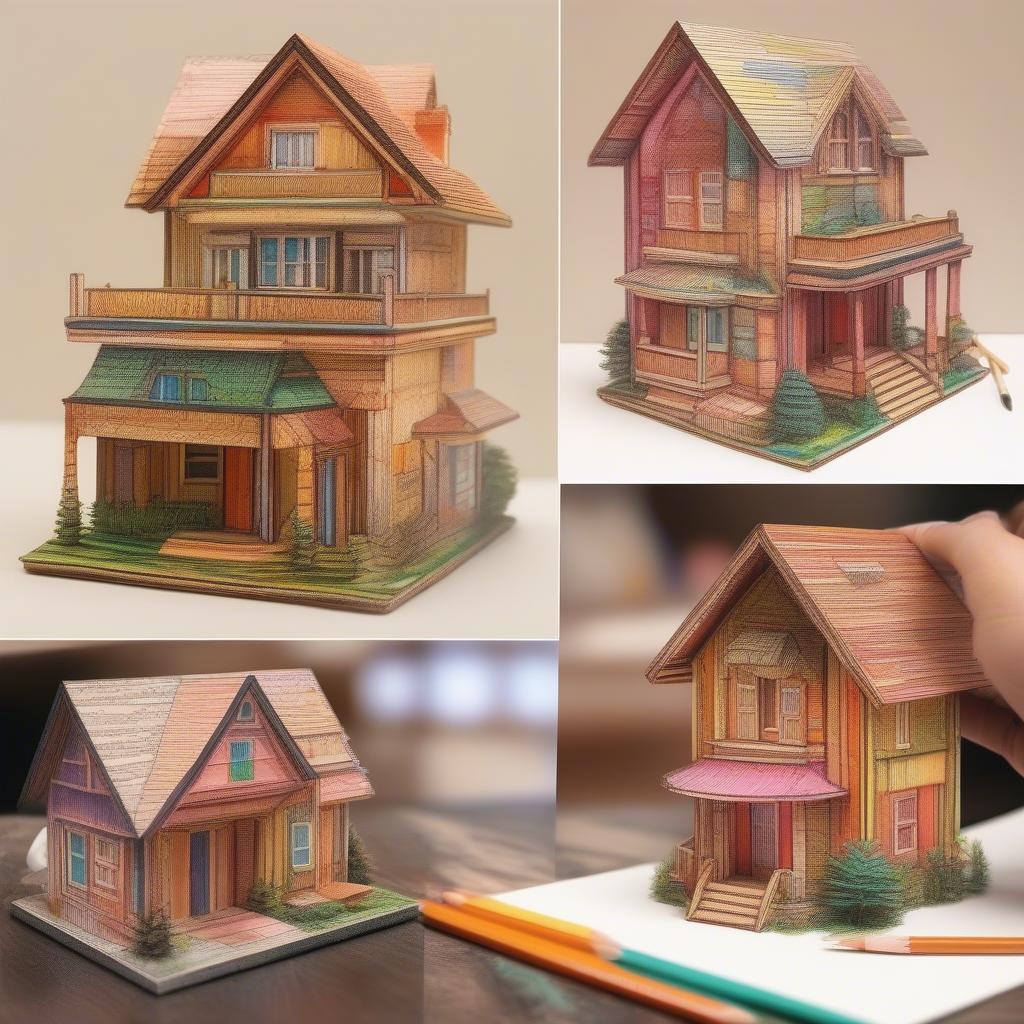
Colored Pencil Houses are a delightful blend of art and craft, capturing the imagination of children and adults alike. Whether you’re looking for a unique art project or a charming decorative piece, understanding the process of creating a colored pencil house can be a rewarding experience. This article dives into the world of colored pencil house construction, exploring different techniques, materials, and design possibilities.  Building a Colored Pencil House: Step-by-step construction process with detailed illustrations showing how to assemble the colored pencils into a house structure.
What is a Colored Pencil House?
A colored pencil house is a decorative or artistic structure created using colored pencils as the primary building material. These whimsical creations can range from simple, miniature houses to elaborate, multi-story structures, offering a colorful and unique expression of creativity. They can be purely decorative or even functional, serving as pencil holders or small storage containers. Beyond just crafting, building a colored pencil house can be a fantastic educational activity, teaching basic construction principles and encouraging imaginative design.
Creating a colored pencil house involves more than just gluing pencils together. It’s about envisioning a structure, planning the layout, and carefully assembling the colored pencils to bring that vision to life. This process can be both challenging and incredibly rewarding, allowing for artistic expression and meticulous craftsmanship.
Materials You’ll Need for Your Colored Pencil House
Building a colored pencil house requires a few key materials. Gathering these beforehand will make the construction process smoother and more enjoyable.
- Colored Pencils: The stars of the show! Choose a variety of colors to create a vibrant and visually appealing house. Consider using retro metal canisters to store and organize your colored pencils.
- Adhesive: Strong glue is essential for holding the pencils together. Hot glue, wood glue, or even super glue can be used, depending on your preference and the complexity of your design.
- Cutting Tools: A sharp utility knife or craft knife will be necessary for trimming pencils to the desired lengths and shaping them for specific design elements.
- Base Material: Consider using a sturdy base, such as cardboard, wood, or foam board, to provide a foundation for your colored pencil house. This will add stability and make it easier to display.
- Decorative Elements: Get creative with embellishments! Small beads, ribbons, fabric scraps, and miniature figurines can add personality and charm to your colored pencil house.
Building Your Colored Pencil House: A Step-by-Step Guide
Constructing your colored pencil house can be a fun and engaging process. Here’s a general guide to help you get started:
- Planning and Design: Sketch your desired house design on paper. This will serve as a blueprint for your construction. Determine the size, shape, and overall look of your colored pencil house.
- Preparing the Pencils: Sort your colored pencils according to color and size. Trim any pencils that need to be shortened for specific parts of the house, such as the roof or windows.
- Building the Walls: Start by creating the walls of your house. Glue the pencils together side-by-side, using your design as a guide. Ensure that the pencils are securely attached to each other and to the base material.
- Constructing the Roof: Cut and shape the pencils for the roof, creating the desired slope and overhang. Glue the roof pieces together and then attach them to the walls.
 Constructing the Roof of a Colored Pencil House: Detailed illustration of building the roof, focusing on techniques for achieving the desired slope and attaching it securely to the walls.
 - Adding Windows and Doors: Use smaller pieces of colored pencils or other decorative elements to create windows and doors. Get creative with shapes and colors.
- Decorating and Finishing Touches: Once the structure is complete, add decorative elements like miniature plants, figurines, or other embellishments to personalize your colored pencil house.
 Decorating a Colored Pencil House: Showcasing different decorative elements like miniature plants, figurines, and other embellishments to personalize the house.
Conclusion
Creating a colored pencil house is a captivating and fulfilling project that combines artistic expression with hands-on craftsmanship. From simple designs to elaborate structures, the possibilities are endless. So gather your materials, unleash your creativity, and build your own whimsical colored pencil house today!
FAQ
- What type of glue is best for a colored pencil house? Hot glue, wood glue, or super glue can all be used effectively.
- Can I use crayons instead of colored pencils? While crayons can be used, colored pencils offer more structural integrity.
- How can I make my colored pencil house stand up straight? Using a sturdy base material and ensuring even glue application will help.
- Where can I find inspiration for colored pencil house designs? Online platforms like Pinterest and Instagram are excellent sources of inspiration.
- Can I sell my finished colored pencil houses? Absolutely! Handmade crafts are always in demand.
- What other materials can I use to decorate my colored pencil house? Beads, ribbons, fabric scraps, and miniature figurines are great options.
- How long does it typically take to build a colored pencil house? The time required depends on the complexity of the design, but it can range from a few hours to several days.
When you need assistance, please contact us at My Dinh, Hanoi, Vietnam or San Francisco, CA 94105, USA. We have a 24/7 customer support team.


