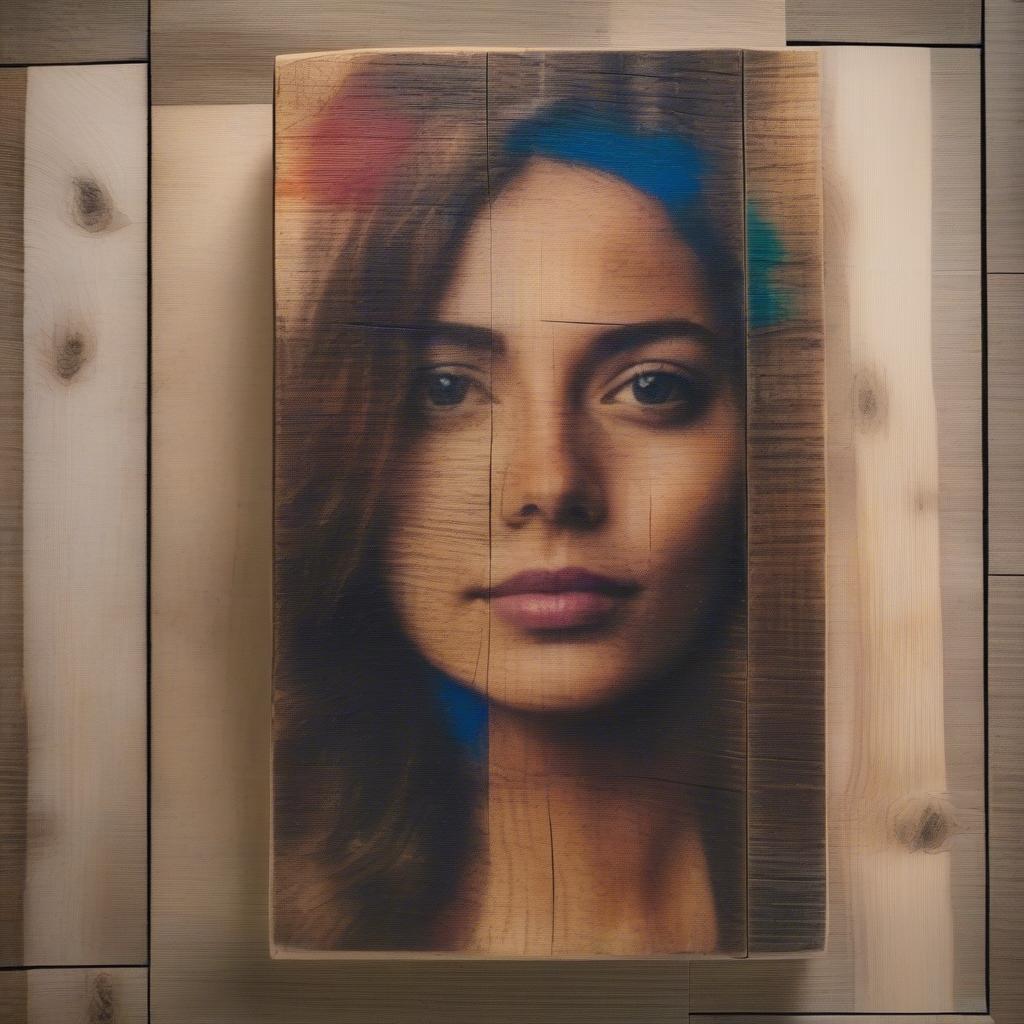
Picture To Wood is the art of transferring images onto wood surfaces, creating beautiful and lasting pieces of art. This process opens up a world of possibilities for personalized gifts, home decor, and even large-scale art projects. Whether you’re a seasoned crafter or a complete beginner, understanding the different techniques and materials involved can help you achieve stunning results. printing pictures on wood
Different Methods for Picture to Wood Transfer
There are several methods you can use to transfer a picture to wood, each with its own advantages and disadvantages. Choosing the right method depends on your budget, desired outcome, and level of experience.
The Classic Mod Podge Technique
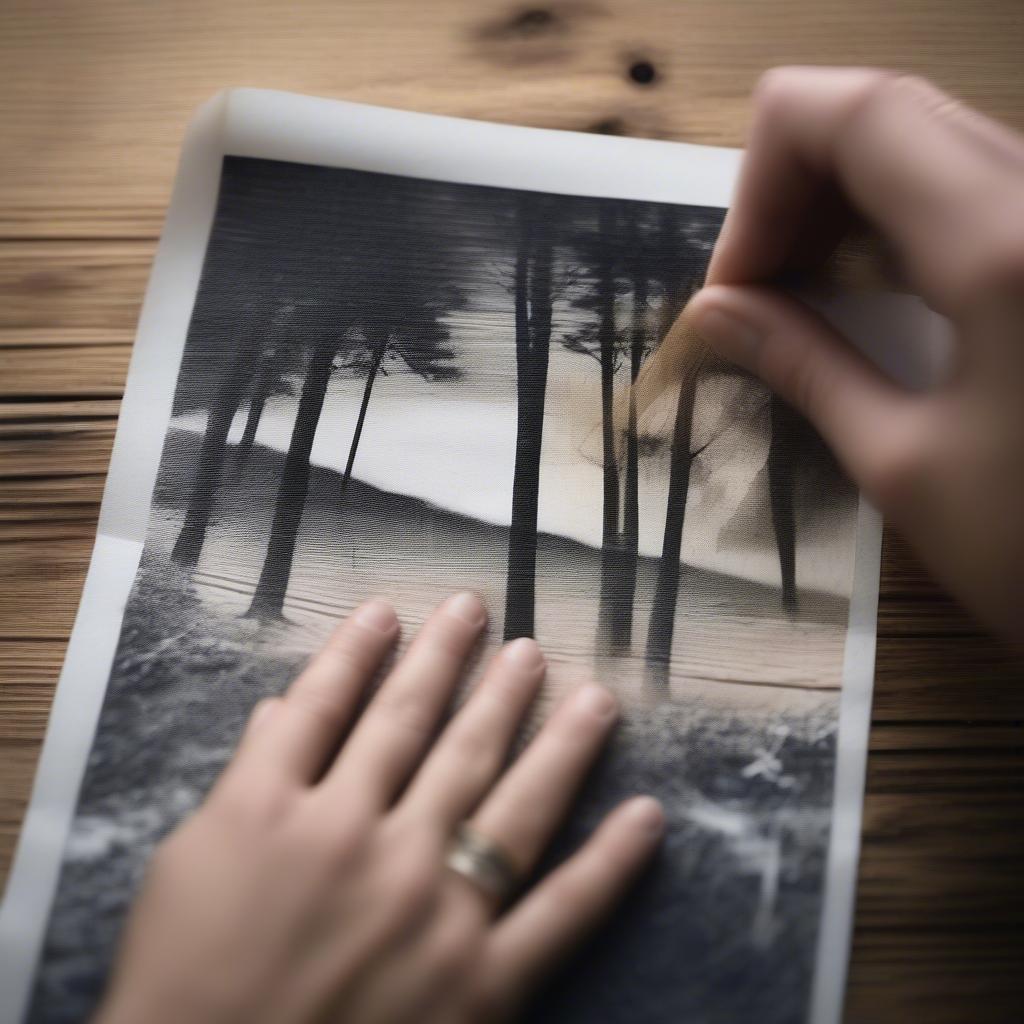
This method is a popular choice for beginners due to its simplicity and affordability. It involves printing your image onto regular paper using a laser printer (inkjet prints won’t work!), coating the wood with Mod Podge, applying the image face down, and then carefully rubbing the paper away to reveal the transferred image.
 Mod Podge Wood Transfer Technique
Iron-On Image Transfers
Another accessible method is using iron-on transfer paper. Specifically designed for fabric, this paper can also be used on wood with good results. The image is printed onto the transfer paper using an inkjet printer, then ironed onto the wood surface. This is a quick and easy method, perfect for simple designs.
The Photo Transfer Method using Gel Medium
For a more professional and archival finish, consider using a gel medium designed for photo transfers. This method involves applying a thick layer of gel medium to both the wood and the printed image (printed on photo paper), then carefully sandwiching them together and allowing them to dry completely. Once dry, the paper backing is removed, leaving a beautifully transferred image embedded in the gel medium.
 Gel Medium Photo Transfer on Wood
Choosing the Right Wood for Your Project
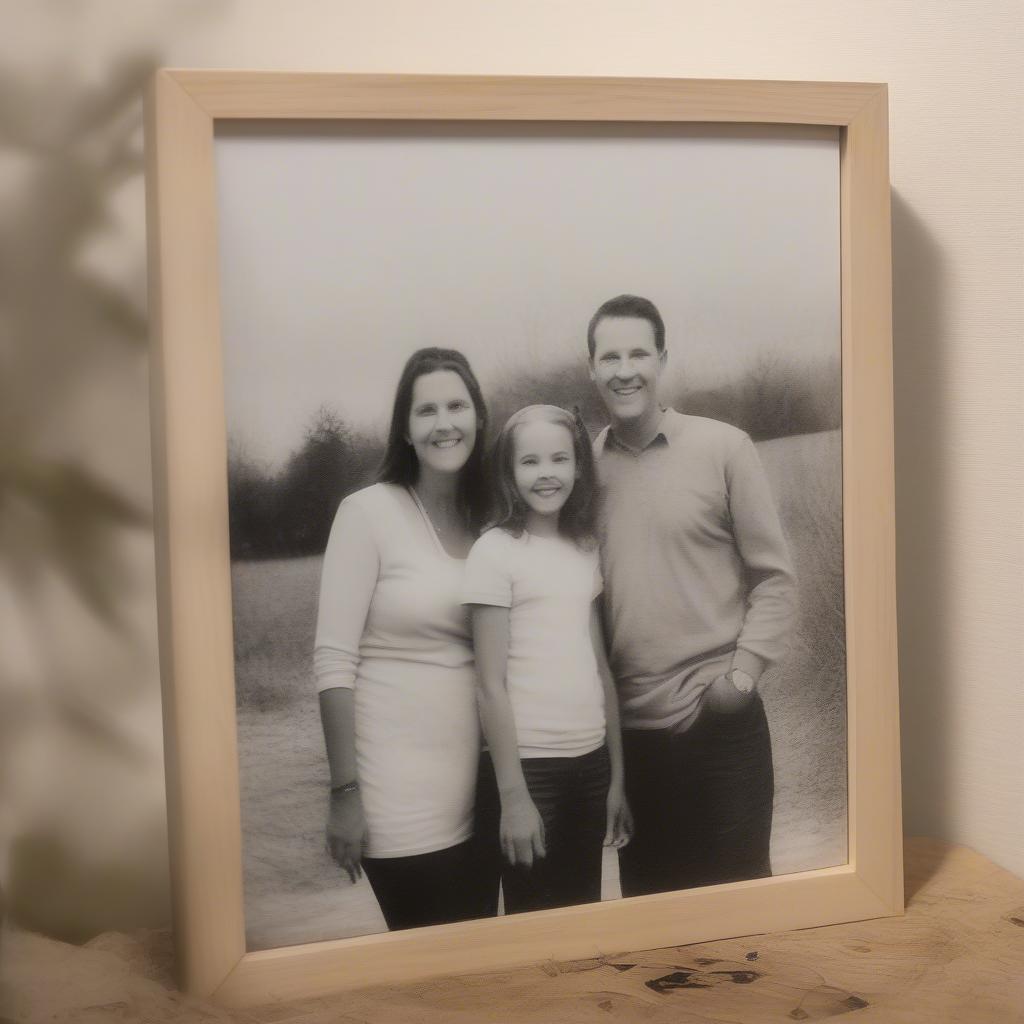
The type of wood you choose will also influence the final result. Smooth, light-colored woods like birch or maple are ideal for detailed images. For a more rustic look, reclaimed wood or wood with prominent grain patterns can add character to your piece. wood picture frames
Preparing Your Wood Surface
Before transferring your image, it’s essential to prepare the wood surface. Sanding the wood smooth ensures better adhesion and a cleaner transfer. Cleaning the surface with a tack cloth removes any dust or debris that could interfere with the process.
Troubleshooting Common Picture to Wood Transfer Issues
One common issue is the image not transferring completely or evenly. This can be caused by insufficient pressure during the transfer process or uneven application of the transfer medium. Another problem is air bubbles trapped beneath the image, which can create a distorted or blurry finish. gray wooden picture frames]
“Proper surface preparation is key to a successful picture to wood transfer,” says Amelia Woodcraft, a renowned wood artisan with over 20 years of experience. “Taking the time to sand and clean the wood will significantly improve the adhesion of the image and prevent common issues like air bubbles or uneven transfers.”
Sealing and Protecting Your Wooden Masterpiece
Once the image is transferred and dry, sealing it with a protective finish is crucial to preserve its longevity. A clear coat of polyurethane or varnish will protect the image from scratches, fading, and moisture damage.
 Sealed Wood Transfer Project
“Don’t underestimate the importance of sealing your finished piece,” adds Ms. Woodcraft. “A good sealant will protect your artwork from the elements and ensure it remains vibrant for years to come.”
Conclusion
Picture to wood is a rewarding and creative process that allows you to personalize and decorate your home with unique pieces of art. By understanding the different methods and materials available, and following these tips, you can achieve stunning results with your picture to wood projects. wooden picture frames Start transforming your favorite pictures to wood today!
FAQ
- Can I use inkjet prints for picture to wood transfers? Generally, no. Inkjet ink is water-based and will bleed.
- What kind of paper should I use for Mod Podge transfers? Standard printer paper works well.
- How do I remove air bubbles during the transfer process? Use a brayer or credit card to smooth out the image.
- What is the best sealant for wood transfers? Polyurethane or varnish are excellent choices.
- Can I transfer images onto any type of wood? Yes, but smoother surfaces are easier to work with.
- How long should I let the transfer dry before sealing it? Follow the drying instructions for the specific transfer medium you are using.
- Where can I find more information about picture to wood transfers? Check out our other articles on small wood picture frames.
For further assistance, please contact us at My Dinh, Hanoi, Vietnam or San Francisco, CA 94105, USA. We have a 24/7 customer service team ready to help.


