Transferring Photos Onto Wood–a timeless craft that transforms cherished memories into beautiful, tactile art–is surprisingly accessible. Whether you’re a seasoned crafter or a complete beginner, this guide provides a comprehensive exploration of various techniques, tips, and tricks for achieving professional-looking results. printing photos onto wood offers a unique way to personalize your home décor, create heartfelt gifts, or even start a small business.
Understanding the Process of Putting Photos onto Wood
There are several ways to transfer photos onto wood, each offering different levels of complexity and distinct aesthetic outcomes. Choosing the right method depends on your skill level, budget, and desired finish. Let’s delve into the most popular techniques:
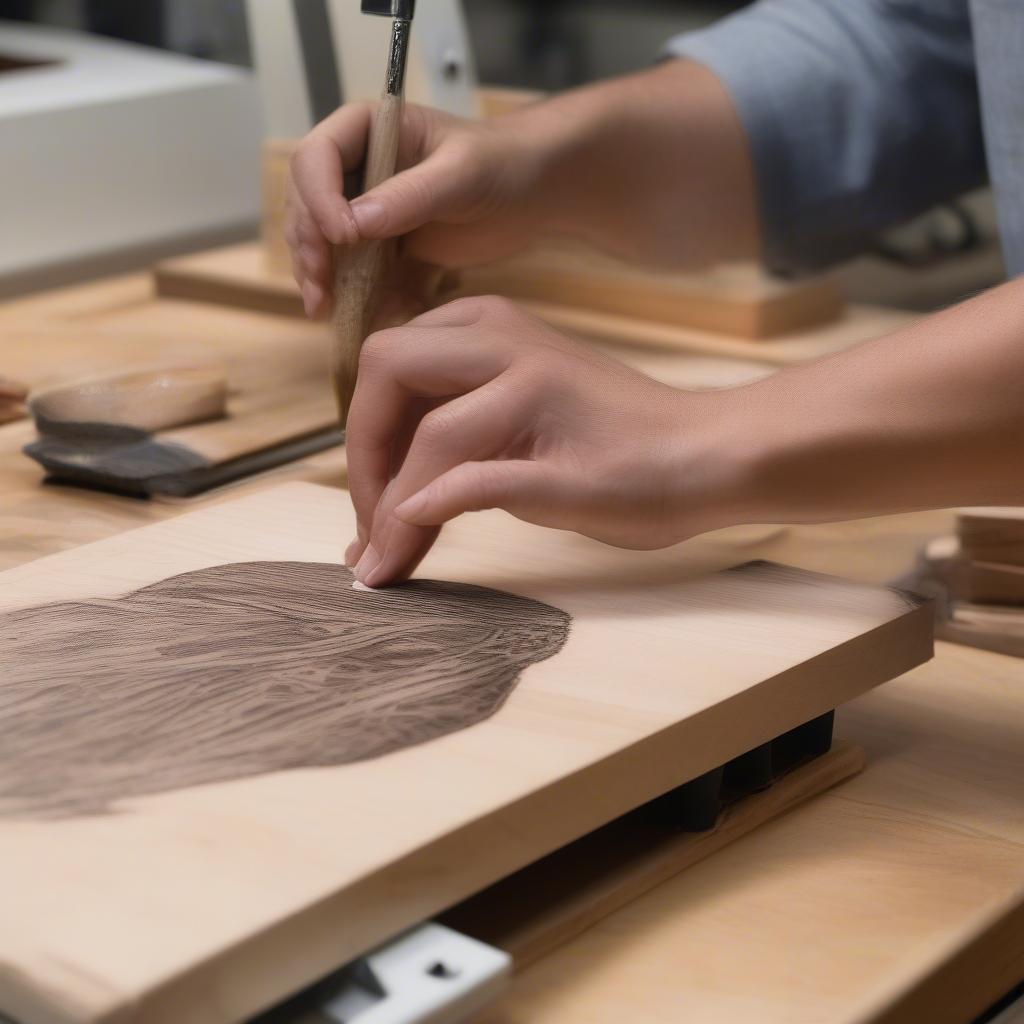
- Image Transfer Medium: This method involves applying a special medium to the wood, placing the printed image face down, and then rubbing away the paper backing, leaving the ink transferred to the wood. This is a great option for beginners.
- Sublimation Printing: This technique uses heat to transfer dye onto specially coated wood substrates. It yields vibrant, high-resolution prints that are extremely durable. However, it requires specific equipment, including a heat press.
- Laser Engraving: This method uses a laser to etch the image directly onto the wood surface. It creates a highly detailed and permanent print but requires access to a laser engraver.
- Mod Podge Photo Transfer: A popular and budget-friendly method that uses Mod Podge, a type of decoupage glue, to adhere the image onto the wood. It creates a vintage look.
 Transferring Photos onto Wood using Various Methods
Choosing the Right Wood for Your Photos
The type of wood you choose will significantly impact the final look of your project. Light-colored woods like birch, maple, and basswood are excellent for showcasing image details, while darker woods like walnut and cherry can create a dramatic and rustic feel. what is wood print discusses the intricacies of different wood choices in more detail. Consider the grain pattern and texture of the wood, as these will contribute to the overall aesthetic. A smooth, fine-grained wood works well for detailed images, while a rougher texture can add a rustic charm.
Preparing Your Photos and Wood
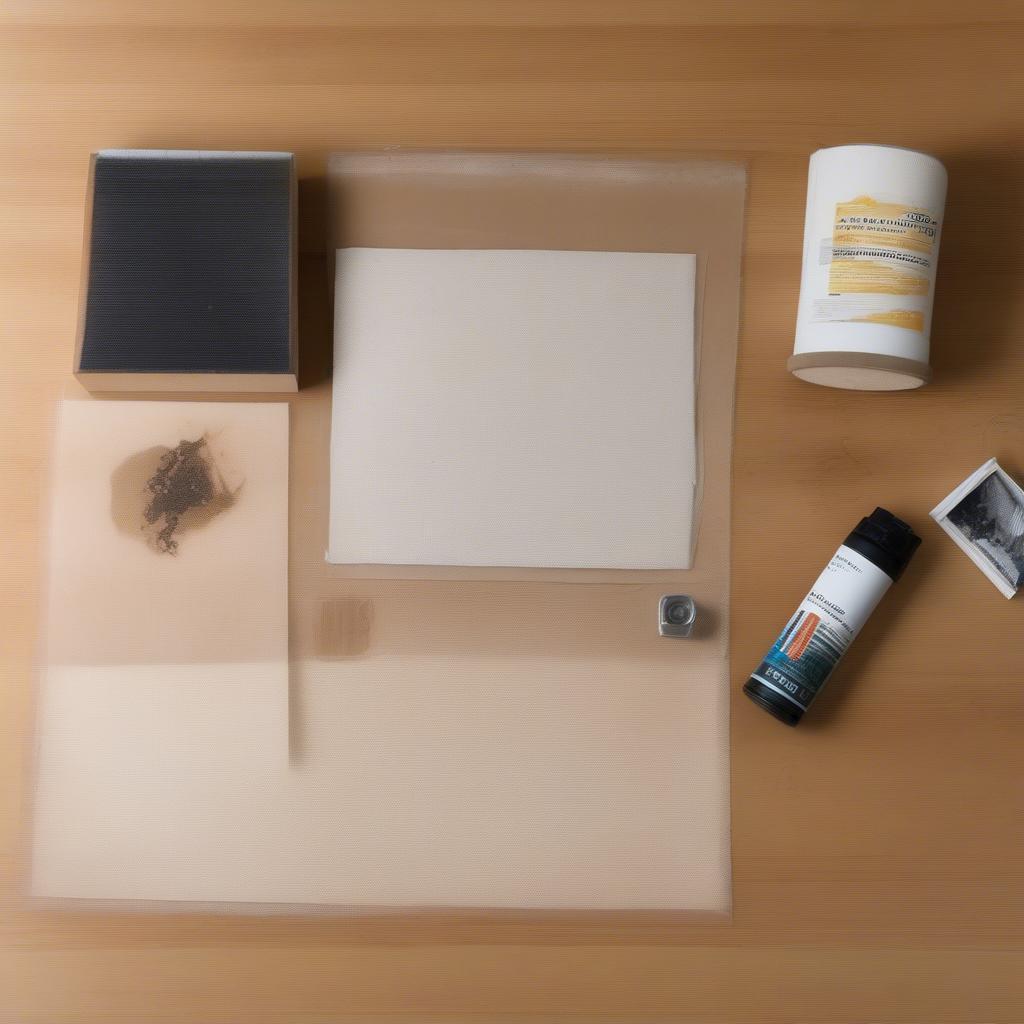
Proper preparation is crucial for successful image transfer. Your photos should be printed using a laser printer or inkjet printer with pigment-based inks, as dye-based inks can bleed. For most techniques, you’ll need to mirror or reverse your image before printing, particularly when using transfer paper. The wood surface should be clean, smooth, and free of dust and debris. Sanding the wood beforehand can help achieve a better finish.
 Preparing Photos and Wood for Image Transfer
Tips for Achieving Professional Results
- Use high-resolution images: This ensures a crisp and clear transfer.
- Practice on scrap wood: This allows you to perfect your technique before working on your final piece.
- Seal the wood: Applying a sealant after the transfer protects the image and enhances its longevity.
Creative Wood Photo Project Ideas
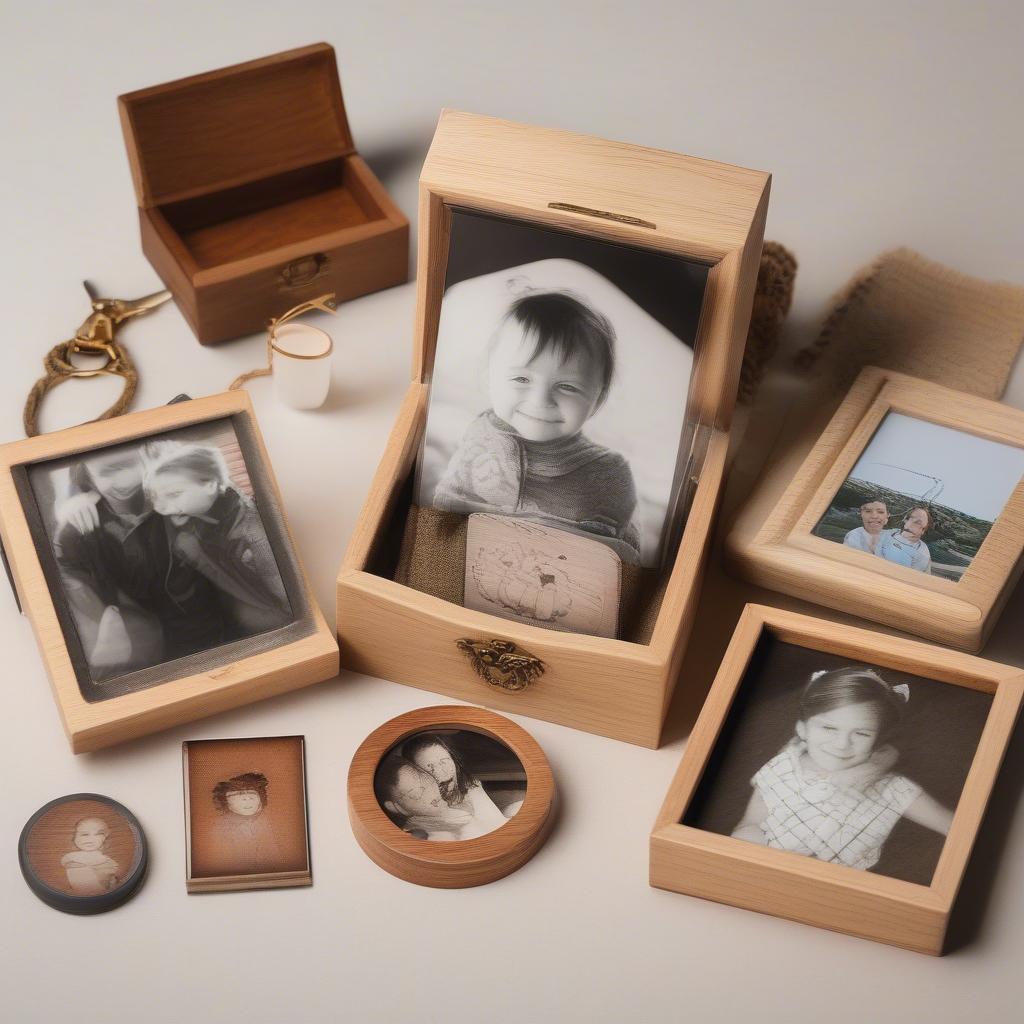
From small wood boxes for gifts personalized with cherished photos to creating stunning wood panel photos for your walls, the possibilities are endless. You can also make personalized coasters, keychains, or even small wood picture frames with this technique.
“Choosing the right wood is just as important as the photo itself,” says renowned woodworking artist, Amelia Carter. “The wood’s character becomes an integral part of the artwork.”
 Creative Wood Photo Project Ideas
Conclusion
Transferring photos onto wood allows you to create unique and personalized pieces of art. Whether you’re looking for a new hobby or a way to preserve precious memories, photos onto wood offers a rewarding and creative outlet. By following the tips and techniques outlined in this guide, you’ll be well on your way to creating stunning wood prints that you can cherish for years to come.
FAQs
- What kind of printer should I use? Laser printers or inkjet printers with pigment-based inks work best.
- Can I transfer photos onto any type of wood? Yes, but smoother, lighter-colored woods generally produce better results for detailed images.
- Do I need to seal the wood after transferring the photo? Sealing protects the image and enhances its longevity, so it’s highly recommended.
- What is the easiest method for beginners? The image transfer medium method is a good starting point for beginners.
- Where can I buy image transfer medium? Most craft stores and online retailers carry image transfer mediums.
- Can I use this technique on curved wood surfaces? While it’s possible, it can be more challenging and may require adjustments to the technique.
- How can I prevent the image from cracking? Ensure the wood surface is smooth and properly prepared, and apply a sealant after the transfer.
For any assistance, please contact us at My Dinh, Hanoi, Vietnam or San Francisco, CA 94105, USA. We have a 24/7 customer support team.


